 US Dollar

$5.00 a gallon? Here are 5 tips for better fuel mileage with a 4 barrel carburetor!
Posted by Steve on 24th Mar 2026
Cruising season is almost here and (unfortunately) gas prices are on the rise. Nobody puts a 4 barrel carburetor on their car and expects great fuel mileage, but everyone gets squeamish when fuel for their thirsty big block reaches $5.00 a gallon. The good news is there are some easy ways to radically improve fuel mileage! 
We’ve collected some easy tips based on the problems we most commonly see at the shop. Get your screwdriver!
- Idle mixture screws
- Set the vacuum advance properly
- Tune up is important!
- Use the correct tools!
- Consider installing a wideband 02 sensor
1. Idle mixture screws!
Check your idle mixture screws! It’s truly mind boggling how many carbs are out there and this crucial adjustment hasn’t been made. This is the number one cause of a rich idle condition, and has a very negative effect on overall mileage. The out-of-the-box settings are completely random and the original tuning recommendations are excessively fat. 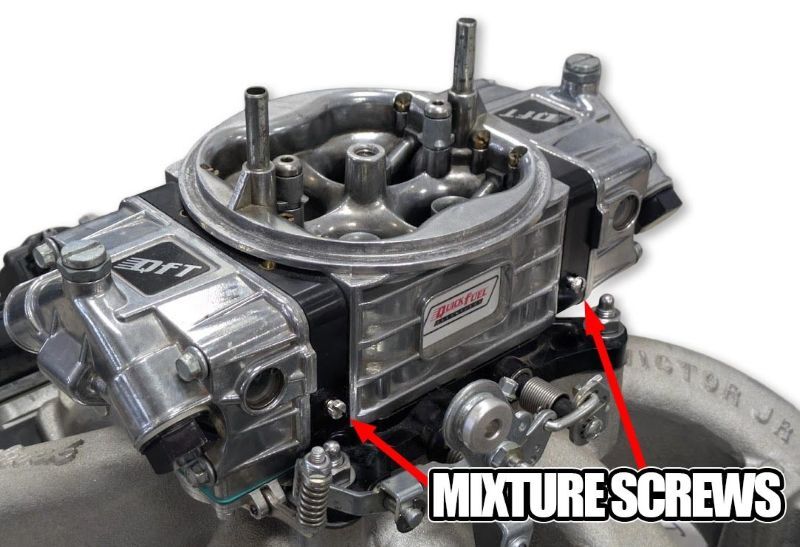
"4 corner" carburetor pictured with screws on the front and rear metering blocks.
To set the mixture screws we recommend the use of a vacuum gauge (see tip 5). But even a good baseline can help. Our recommendations for a good starting point are as follows.
First, warm up the car to operating temperature. You cannot set these accurately when the motor is cold. Turning the screws out means more fuel. Turning them in leans the idle mixture. All mixture screws should be set the same number of turns!
On a two-corner carburetor (which only has screws on the front metering block), we recommend turning both screws all the way in (gently) and then out one turn. Note this is less than the usual recommendation of 1.5 turns.
On a 4 corner carb (which has mixture screws on both metering blocks), we recommend turning all four screws all the way in (gently), and then out three quarters of one turn.
Again, this is a baseline. You can (usually) make further improvements by making small adjustments and checking to see if vacuum improves. Important note: Cold start may be negatively effected. If that’s the case, it means your screws were way too rich, and the carb was acting like it had the choke on ALL the time. You may have to do a choke adjustment, or hold your foot on the gas a little longer when it’s cold.
2. Set the vacuum advance properly: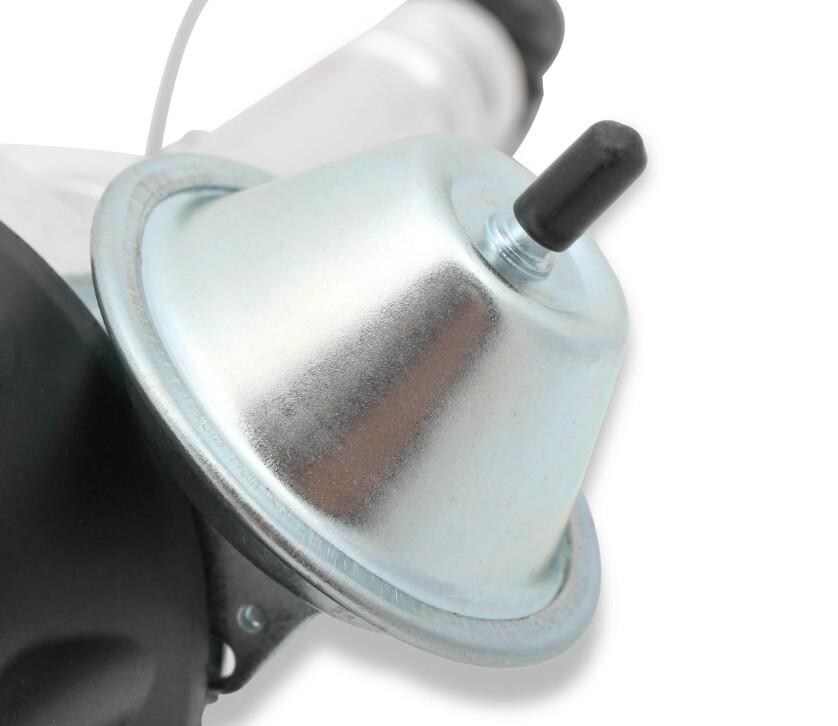
Many folks don’t have the vacuum advance hooked up. Of all carburetor settings this one is the least understood, but will make for a MASSIVE improvement in your gas mileage *and* drivability. The car will feel and drive better, and extra mpg is just the cherry on top.
Here’s the basic procedure:
Identify the correct vacuum port on your carburetor. This significantly changes how the engine behaves at idle. Most carbs have two types of vacuum ports.
- Ported (Timed) Vacuum: There is no vacuum at idle. Vacuum only increases as the throttle plates open. This was common for emissions-controlled vehicles. This is the port we generally use.
- Manifold Vacuum: Full vacuum at idle. This generally leads to a cooler-running engine and a smoother idle because it adds timing when the engine is under the least amount of load. BUT it can make it more difficult to set initial timing.
Note: You cannot tune vacuum advance until your initial (base) timing and mechanical advance are set.
- Disconnect and plug the vacuum line leading to the distributor.
- Set your initial timing 10 to 14* using a timing light.
- Safely ensure your total mechanical advance (initial + centrifugal) is reaching its limit (usually 34 to 36 for most non-LS V8 engines) and is all-in by 2,500–3,000 RPM.
Once the mechanical side is correct, reconnect the vacuum line to the distributor.
The "Cruise" Test
The goal of vacuum advance is to add extra ignition lead during light-load cruising. This is at part throttle, low RPM, where the engine spends most of its time. Because the fuel mixture is leaner and the cylinder pressures are lower at cruise, the fuel burns slower and needs an earlier spark aka more ignition timing.
- The Symptom of Too Much: If you hear "pinging" or "rattling" (detonation) while maintaining a steady speed on flat ground, your vacuum advance is adding too much.
- The Symptom of Too Little: If the car feels sluggish or "heavy" at light throttle, or if your fuel economy is abysmal, you likely need more advance.
To correct these situations, you can either change your initial timing, or most good aftermarket distributors have adjustable advance. Often it uses a 3/32” allen wrench inserted into the vacuum nipple. Turn Clockwise to reduce vacuum advance timing. Counter clockwise gets you more. Getting this right can net massive mpg gains!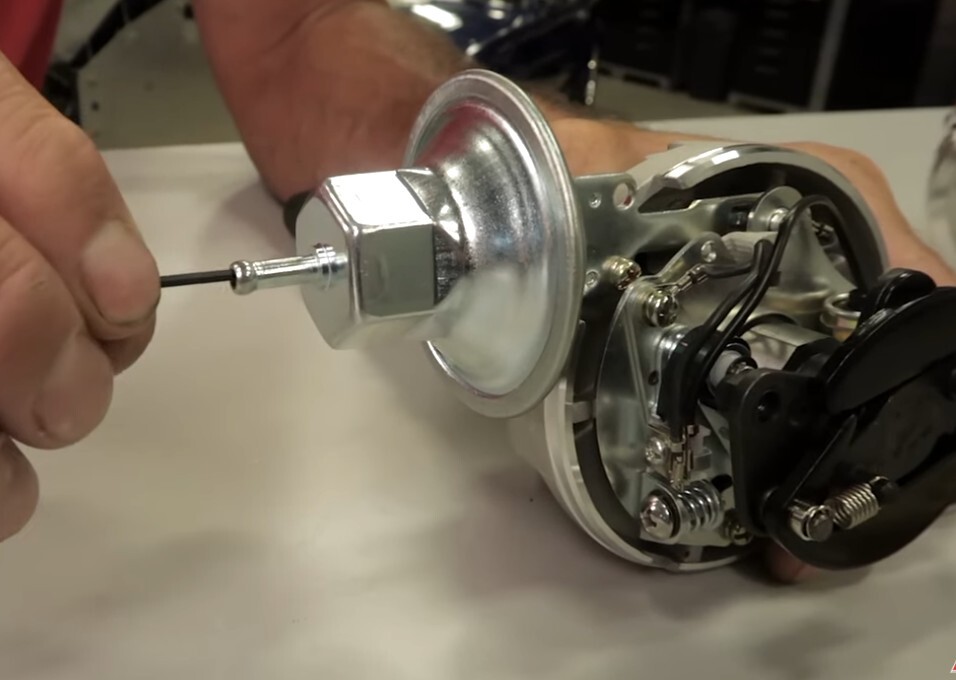
3. Tune up is important!
If the spark plugs are fouled, or the plug wires are burnt, or the air filter is dirty, your engine is not going to perform efficiently! This is always a best practice. However, if the previous two steps helped with your fuel mileage, likely your spark plugs are at least somewhat fouled. Throw in a new set of gapped, copper core spark plugs to see the best gains. Iridium/platinum plugs will not generate mileage gains, and can be more susceptible to detonation in cases of advanced timing.
For most cars, a stock heat range or, if your timing is set as above, 1 heat range colder is going is the best chocie. Too cold a plug will result in poor cold start manners, and reduced fuel efficiency.
4. Use the proper tools
Everyone sees the movies where the veteran hot-rodder guru can make all of his carb and timing adjustments “by ear”. We've all had to listen to the local know-it-all who assures everyone he's the guy that can do it for real.
Here’s the real deal: We’ve seen a hundred customer cars where the timing, idle mixture and jetting was tuned “by ear”. Every single one of those cars ran better, made more power, (usually a lot more) and was more fuel efficient after being properly tuned with the proper tools.
The best news: All you really need is a vacuum gauge and a timing light.
Just about vacuum gauge will work, but for the timing light, we recommend a basic analog light. No digital nonsense to make it unreliable, just an old school timing light with an adjustable dial on the back. You can get both of these at your local discount tool place and get out the door for under $60.00. 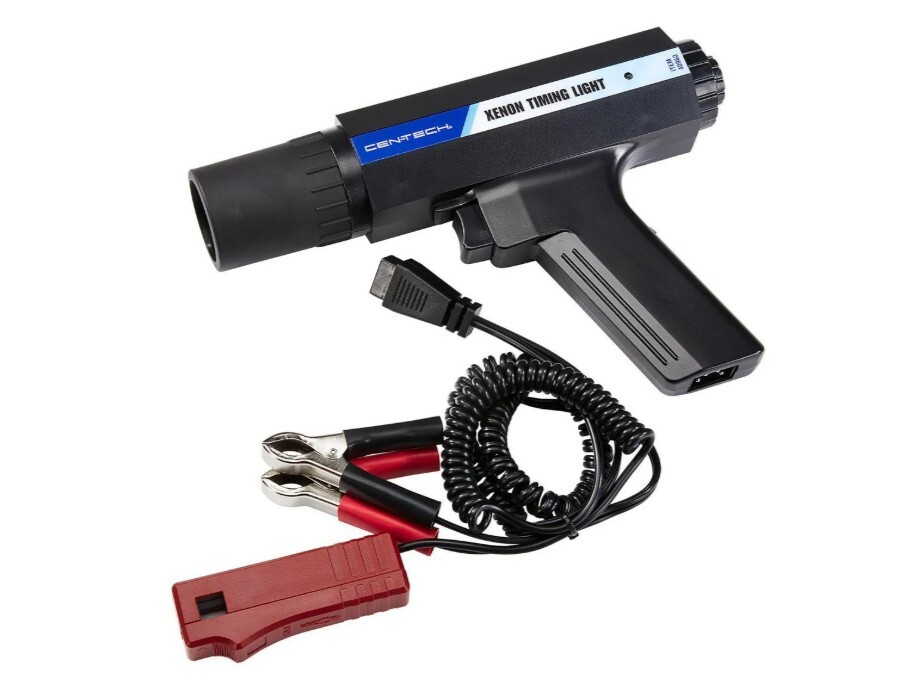
Consider a Wideband Oxygen Sensor kit:
That’s all great, but how can you tell in real-time if you’re making a difference? Easy. We HIGHLY recommend installing a wideband oxygen sensor for every carbureted car. Data isn’t just for EFI cars! This allows you to see where your air/fuel is all the time. No more fumbling around in the dark, or having to pull the spark plugs for a simple yes/no on a change you made It’ll also let you diagnose common problems that reading plugs won’t catch. Stumbles, part throttle lean/rich conditions, and the effects of weather and air density on the tuneup among them.
A good Wideband sensor can accurately measure Air-Fuel Ratios (AFR) from roughly 9.0:1 to 20.0:1. Here are som basic recommendations for the ranges you want to shoot for.
- Idle: 13.5–14.2:1 A/F (idle mixture screw adjustment)
- Cruise: 14.7–15.5:1 (Primary jets, vacuum advance, air bleeds, power valve for load)
- WOT (Wide Open Throttle): 12.5–12.8:1 (jets, high speed air bleeds)
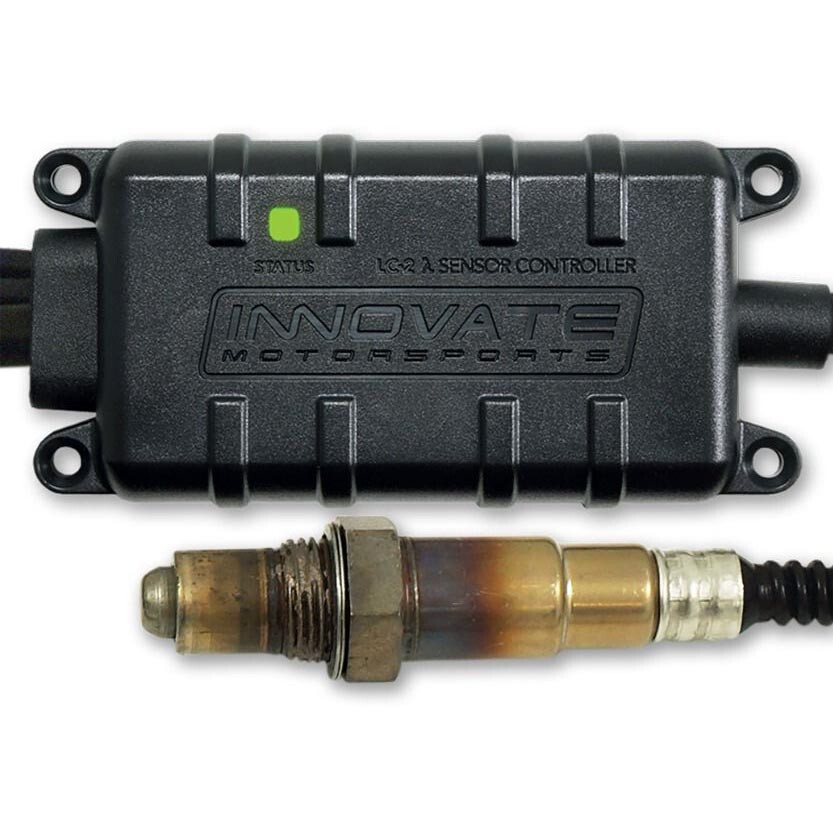
We recommend this kit for long life, accurate readings and easy setup.
Innovate Pro Wideband Sensor Kit
We hope you find this information helpful, and that it pays dividends at the pump when you're getting your hot rod out this summer!